Description
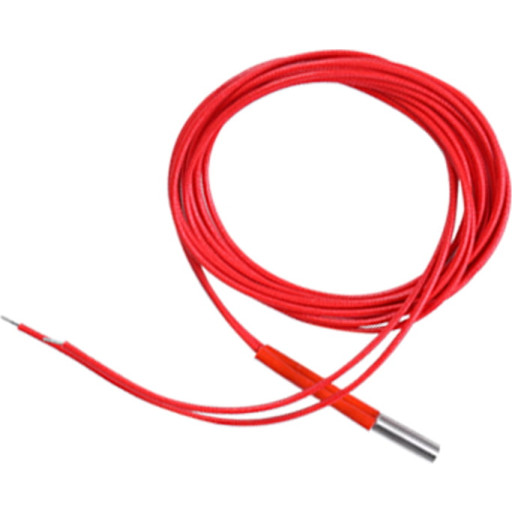
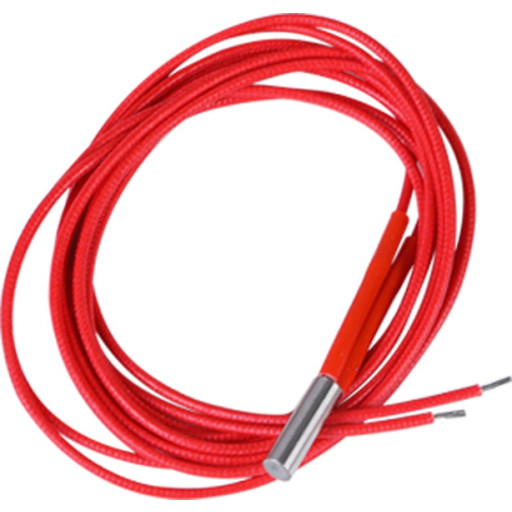
Sostituzione rapida della cartuccia riscaldante
Non è necessario smontare la scheda madre o altre parti per installare la cartuccia riscaldante, è sufficiente sostituirla direttamente.
Facile installazione in 4 passaggi
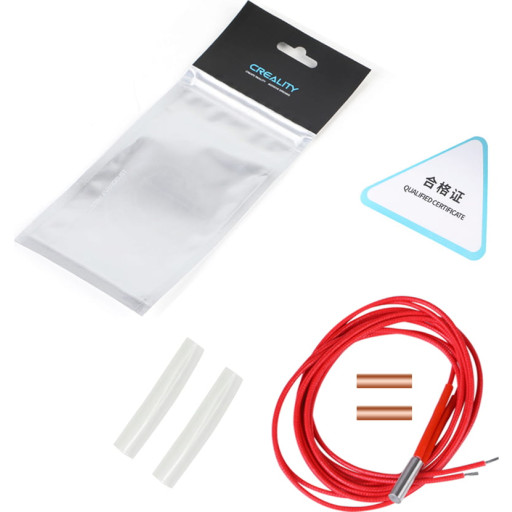
- Inserire il cavo nella guaina termorestringente.
- Inserire le estremità preparate rimuovendo la parte terminale della guaina nel tubo di rame.
- Usare le pinze per stringere saldamente il tubo di rame e mantenere il filo in posizione.
- Far scorrere il tubo termoretraibile sul tubo di rame
- Utilizzare una pistola termica o un accendino per riscaldare il tubo termoretraibile finché il connettore non si contrae.
Lunga durata e alta efficienza termica
Il filo riscaldante interno, appositamente lavorato e resistente alle alte temperature, è estremamente robusto e durevole.
| Kit cartuccia riscaldante | Stampanti 3D compatibili |
| 24V 40W |
Ender 3 Ender 3 Pro Ender 3 Max Ender 3 V2 Ender 5 Ender 5 Pro Ender 5 Plus Ender 6 CR-5 Pro CR-6 SE CR-6 Max CR-10S Pro CR-10S Pro V2 CR-10 V3 CR-10 Max CR-10 Smart CR-200B CR-2020 CR-X CR-X Pro CT 228 Sermoon D1 |
| 24V 60W |
CR-5050 Pro CT-380 CR-3040 Pro CR-30 |
| 12V 40W |
CR-10 CR-10 Mini CR-10 S CR-10 S4 CR-10 S5 E3D V6 |
Information
Shipping
We currently offer free shipping worldwide on all orders over $100.
Sizing
Fits true to size. Do you need size advice?
Return & exchange
If you are not satisfied with your purchase you can return it to us within 14 days for an exchange or refund. More info.
Assistance
Contact us on (+44) 555 88 65, or email us at support@reytheme.com.
Specifications
| Modello | 24V 40W, 24V 60W, 12V 40W |
|---|


Reviews
There are no reviews yet.